How Many Scalp Micropigmentation Sessions Do You Need?
Last updated: 13 Aug 2026
335 Views
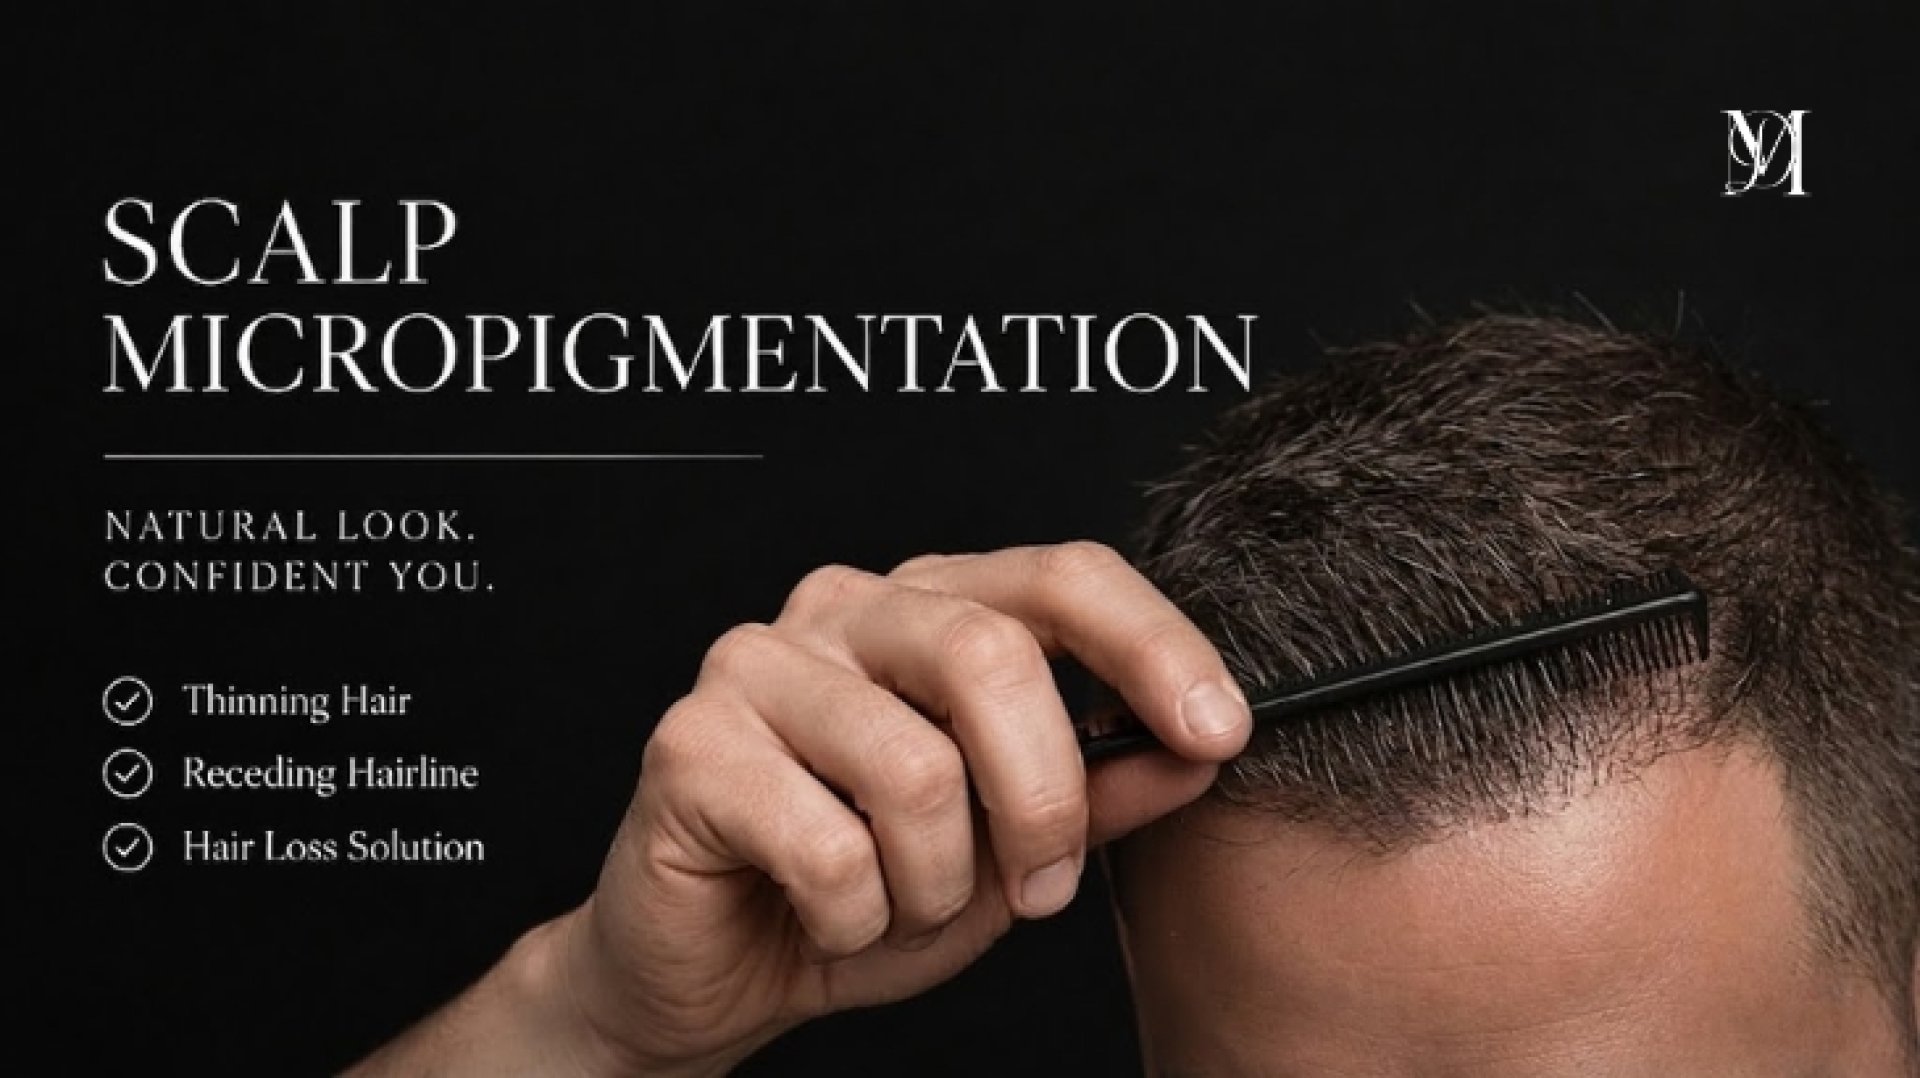
How Many Scalp Micropigmentation Sessions Do You Need? Why One Session Is Usually Not Enough
If you're considering Scalp Micropigmentation, one of the first questions you probably have is:
“How many sessions will I need?”
“Why can't everything be done in just one session?”
Scalp Micropigmentation is usually performed over multiple sessions, and many treatment plans involve around three sessions.
Instead of making the scalp look as dark and dense as possible in one appointment,
the pigment is gradually built up in layers to create a more natural-looking result.
Each session isn't simply repeating the same work. It allows the artist to gradually build density,
see how the pigment looks once the scalp has healed, and refine areas that need more detail.
At Madam Studio Bangkok, this gradual approach is especially important to us.
The goal of Scalp Micropigmentation isn't to make your scalp look darker.
The goal is to make your hair look naturally fuller.
What Is Scalp Micropigmentation?
Scalp Micropigmentation is a cosmetic pigmentation technique that places tiny pigment impressions on the scalp to create
the appearance of very short hair follicles.
For people who still have hair but experience thinning, these tiny impressions can also help reduce
the contrast between the hair and the visible scalp.
Think about someone with thinning hair around the crown or parting.
Under bright lighting, the lighter scalp becomes much more noticeable between the darker strands of hair.
By adding carefully placed pigment to these areas, Scalp Micropigmentation can create the visual impression of greater hair density.
It can be used for both men and women and isn't limited to people who shave their heads.
However, there's one important thing to understand:
Scalp Micropigmentation does not grow new hair.
It isn't a hair transplant and it doesn't stimulate new hair growth. Instead, it is a cosmetic camouflage technique designed to make thinning areas,
hair loss, or certain scalp scars less noticeable.
What Problems Can Scalp Micropigmentation Help With?
A lot of people associate Scalp Micropigmentation with male baldness, but it can actually be used to visually improve many different concerns involving
the hair and scalp.
Scalp Micropigmentation may be considered for:
- Thinning hair or different degrees of hair loss, including thinning around the crown, a receding hairline, or a naturally high forehead.
- A widening hair part, especially when the scalp becomes clearly visible under bright lighting or in photographs.
- Diffuse thinning across the scalp, where hair is still present but there isn't enough density to effectively cover the scalp.
- Areas that still appear thin after a hair transplant, where additional visual density may be desired.
- FUT or FUE hair transplant scars, helping the contrast between the scar and surrounding hair appear less noticeable.
- Scalp scars caused by surgery or accidents, depending on the condition and maturity of the scar.
- Scars around the hairline following certain cosmetic procedures, which may be suitable for camouflage after individual assessment.
- Certain types of alopecia, where pigmentation may help visually camouflage areas of hair loss.
In cases involving alopecia or an underlying scalp condition, it's particularly important to understand that Scalp Micropigmentation is a cosmetic solution.
It can help camouflage the appearance of hair loss, but it does not treat the medical condition causing the hair loss itself.
How Many Scalp Micropigmentation Sessions Do You Need?
Scalp Micropigmentation normally requires more than one session, and many treatment plans involve approximately three sessions.
Why three?
Because natural-looking density is usually better created gradually.
The pigment you see immediately after your first appointment isn't necessarily what it will look like once the scalp has fully settled.
Giving the skin time to recover allows the artist to see how the pigment has retained before deciding where additional density is needed.
This is why judging your final Scalp Micropigmentation result immediately after the first session can be misleading.
Think of it this way:
If there's not enough density, more can be added.
If too much pigment is added too quickly, correcting it can be much more difficult.
Session 1 — Creating the Foundation
The first Scalp Micropigmentation session is essentially the foundation of the entire result.
Before starting, the artist needs to consider several factors, including:
- Your natural hair color
- Your scalp tone
- Existing hair density
- Areas of thinning or hair loss
- Your natural hairline
- The size and placement of pigment impressions
- How the treated area will blend into your existing hair
The goal isn't to make the scalp look extremely dark during the first session.
Instead, the artist creates the first layer that later sessions can build upon.
So if you look at your scalp after the first session and think:
“Why can I still see some of my scalp?”
Don't immediately assume something has gone wrong.
The first session isn't necessarily meant to be your finished result.
Session 2 — Building More Density
Once the scalp has had time to heal, the artist can properly assess how the first layer of pigment has settled.
This is where the second Scalp Micropigmentation session becomes important.
Areas that have retained pigment well may need very little additional work.
Areas that still appear too light can receive more density.
And areas that don't yet blend naturally into the surrounding hair can be refined.
This second layer starts to create more visual depth, making areas of visible scalp less noticeable.
But the goal still isn't to simply “fill the scalp with dark pigment.”
At Madam Studio Bangkok, we're looking for density that visually works with your existing hair rather than competing with it.
Session 3 — Refining the Final Result
By the third session, the artist has already seen how the scalp responded to the previous two sessions.
This makes it easier to identify where the density is already sufficient and where small adjustments are still needed.
The third Scalp Micropigmentation session is often about refinement.
Particular attention may be given to areas such as the hairline or the transition between the pigmented area and existing hair,
where even small details can make a big difference to how natural the overall result looks.
So the third session isn't simply:
“Let's make everything darker.”
It's about bringing all of the layers together so that the finished result looks balanced and natural.
How Long Should You Wait Between Scalp Micropigmentation Sessions?
Your scalp needs time to recover between sessions before the previous result can be properly assessed.
Depending on the treatment plan and individual healing process, appointments may be spaced approximately 14 days to one month or longer apart.
Why wait?
Because what you see immediately after Scalp Micropigmentation isn't necessarily the final appearance of the pigment.
Allowing time between appointments gives the scalp an opportunity to recover and lets the artist evaluate the previous session before adding more density.
At the next appointment, the artist can then assess:
Where the pigment has settled well → little or no additional work may be needed
Where the scalp still looks too visible → more density can be added
Where the transition doesn't look natural enough → details can be refined
The time between sessions is therefore part of the Scalp Micropigmentation process, not simply waiting for the next appointment.
Why Not Make Scalp Micropigmentation Very Dark in the First Session?
Because darker doesn't automatically mean better or more natural.
Good Scalp Micropigmentation depends on much more than the amount of pigment used.
The size of each impression, pigment tone, placement, depth and overall density all affect how realistic the finished result looks.
If the impressions are too large, too dark, or placed too densely, the result may look artificial rather than like natural hair follicles.
This becomes especially important around the hairline.
A hairline that looks too dark, sharp or perfectly uniform can sometimes draw more attention
to the treatment rather than making it disappear naturally into the overall look.
At Madam Studio Bangkok, our focus is on gradually building density and paying attention to how each layer works with the client's existing hair.
Because the reaction we want isn't:
“What did you have tattooed on your scalp?”
It's:
“Your hair looks fuller.”
Can Women Get Scalp Micropigmentation?
Absolutely.
Scalp Micropigmentation for women with thinning hair can have a different goal from Scalp Micropigmentation
for someone who keeps their hair shaved very short.
For women who still have longer hair but experience thinning around the part or crown,
the purpose may be to reduce the visible contrast between the hair and scalp.
When less light-colored scalp is visible through darker hair, the area can visually appear denser.
For example, someone with a widening part may not need the appearance of a shaved hair follicle pattern across the entire scalp.
Instead, Scalp Micropigmentation can be strategically placed between existing hairs to help the scalp appear less noticeable.
That's why Scalp Micropigmentation shouldn't follow exactly the same pattern for every client.
Hair density, hair color, scalp tone, hairstyle and the area of concern all need to be considered individually.
Can Scalp Micropigmentation Help After a Hair Transplant?
In some cases, yes.
Someone may have undergone a hair transplant but still feel that certain areas don't look as dense as expected.
Scalp Micropigmentation can sometimes be used to reduce the visibility of the scalp between transplanted and existing hairs,
creating the appearance of greater density.
It can also be considered for hair transplant scar camouflage.
FUT and FUE procedures can leave different types of scarring in the donor area. FUT is typically associated with a linear scar,
while FUE may leave multiple small dot-like scars.
Scalp Micropigmentation may help reduce the contrast between these scars and the surrounding scalp or hair.
However, scar tissue is different from normal skin.
The condition, age and characteristics of the scar need to be assessed before treatment because pigment may behave differently in scar tissue.
Can Scalp Micropigmentation Cover Scalp Scars?
Scalp Micropigmentation can be used as a camouflage option for certain scars, including those resulting from accidents, surgery,
hair transplantation or some cosmetic procedures around the hairline.
The idea isn't to physically remove the scar.
Instead, pigment can help reduce the difference in appearance between the scar and surrounding areas, making it less visually noticeable.
However, not every scar is automatically suitable for Scalp Micropigmentation.
The scar should be assessed individually, especially when there is a history of surgery, abnormal scarring or an active scalp condition.
What About Scalp Micropigmentation for Alopecia?
Scalp Micropigmentation may also be considered as a cosmetic camouflage option for some people experiencing alopecia.
Depending on the type and pattern of hair loss, pigmentation can help make areas without hair less visually obvious.
But there's an important distinction:
Scalp Micropigmentation can camouflage hair loss. It does not treat alopecia.
If hair loss may be related to an underlying medical condition, the condition itself should be appropriately evaluated rather than relying on cosmetic pigmentation as a treatment.
My Scalp Still Looks Thin After the First Session. Is That Normal?
It can be.
If your Scalp Micropigmentation treatment has been planned across multiple sessions, the first appointment is only the beginning of the layering process.
The initial session creates the foundation.
The scalp is then given time to heal before the artist evaluates pigment retention and builds additional density during later appointments.
So rather than asking:
“Why doesn't it look dense enough after one session?”
A better question is:
“How naturally will the final density blend with my real hair once the full treatment is complete?”
That's ultimately much more important than trying to achieve maximum darkness during the first appointment.
Does Scalp Micropigmentation Actually Make Hair Grow?
No.
This is one of the most important things to understand before having Scalp Micropigmentation.
Scalp Micropigmentation does not create new hair follicles, stimulate hair growth or replace a hair transplant.
Instead, it creates the visual appearance of hair follicles and can reduce the contrast between the scalp and existing hair.
That's why someone with thinning hair may appear to have greater density after treatment even though the actual number of hairs hasn't changed.
It's a visual effect — and when it's designed carefully, that visual difference can be significant.
Choosing Scalp Micropigmentation in Bangkok
If you're looking for Scalp Micropigmentation in Bangkok, don't make your decision based only on how dark the result looks immediately after treatment.
Look at the details.
Does the hairline look natural?
Are the pigment impressions fine enough?
Does the density blend into the client's real hair?
Does the artist understand how to work with different patterns of thinning hair?
And importantly, what do the healed results look like?
At Madam Studio Bangkok, we believe Scalp Micropigmentation should be designed around the individual.
Someone with a receding hairline shouldn't automatically receive the same pattern as someone with diffuse thinning.
A woman with a widening part shouldn't automatically receive the same treatment design as a man who keeps his head shaved.
And someone looking to camouflage a hair transplant scar requires different considerations again.
The best result isn't necessarily the darkest one.
It's the one that looks like it belongs there.
So, How Many Scalp Micropigmentation Sessions Will You Need?
Scalp Micropigmentation generally requires more than one appointment,
with around three sessions commonly used to gradually build density and refine the final appearance.
A simple way to understand the process is:
Session 1 — Create the foundation
Session 2 — Build density
Session 3 — Refine and balance the final result
Sessions may be spaced approximately 14 days to one month or longer apart, depending on the treatment plan and how the scalp heals.
Most importantly, Scalp Micropigmentation shouldn't be about getting the darkest possible result in the shortest amount of time.
It's about gradually creating pigment impressions that blend naturally with your existing hair and scalp.
At Madam Studio Bangkok, we pay close attention to every part of the process —
from assessing thinning hair and designing the hairline to pigment selection, density and final detailing.
Because great Scalp Micropigmentation shouldn't immediately look like something has been added to your scalp.
It should simply make your hair look naturally fuller.
If you're experiencing thinning hair, a receding hairline, a widening part, visible scalp, hair loss or scalp scarring
and are considering Scalp Micropigmentation in Bangkok,
you can send photos to the Madam Studio Bangkok team for an initial assessment before deciding whether the treatment is right for you.
Related Content

Learn how scalp micropigmentation differs from scalp shading, how SMP creates natural hair stubble, and which technique may suit thinning hair.
Compare Scalp Micropigmentation and Hair Transplant costs, pain, recovery time, and results to find the best solution for your hair loss.
Thinning hair or visible scalp? Scalp Micropigmentation gives a fuller look instantly without surgery, with natural-looking results.

